Getting Started in Woodturning: Your Intro Guide from NC Furniture School
Getting started in woodturning can be intimidating. We are here to help. Read this post and then take a look at our Beginner Woodturning Class to learn more.
Woodturning is a craft that is a magical as it looks! A piece of wood transformed by your hands into furniture parts, hollow form vessels, spindles, bowls, or decorative forms. If you’re curious about trying it, this guide will walk you through what you need, what to expect, and how to get started safely — so you can take your first cuts with confidence.
Getting the Basics Right: Safety & Technique
Mastering safety and foundational technique early will save frustration and help you build skills faster.
- Start slow. start your lathe at low speed, especially with unbalanced blanks, and raise the speed slowly until things settle and everything feels safe and stable.
- Check everything before turning on. Make sure the blank is secure, tool rest is properly positioned, workpiece clears tool rest, banjo, and lathe bed when spun by hand with the power off.
- Keep tools sharp & proper presentation. Sharp tools cut cleanly and safely. For many traditional tools, presenting (the angle/side of the bevel or flute) correctly makes a big difference. Over time you’ll learn feel & angle.
- Use good body mechanics. Stand in balanced stance, keep hands steady, use tool rest for support, don’t overreach. Be sure to seek professional instruction and properly research position and tool presentation before getting started.
- Learn grain direction & how wood behaves. Understanding how wood grain affects cuts, tear-out, and how wood moves (shrinking, cracking) is essential. Be sure to read about the different characteristics of Softwoods & hardwoods, green vs dry wood — these all affect the turning.
Getting Started in Woodturning: First Projects to Try
Begin with small, achievable pieces that let you focus on technique, tool control, and safety. Here are projects beginners often start with:
- Simple spindle work: tool handles, wooden pens, small dowels
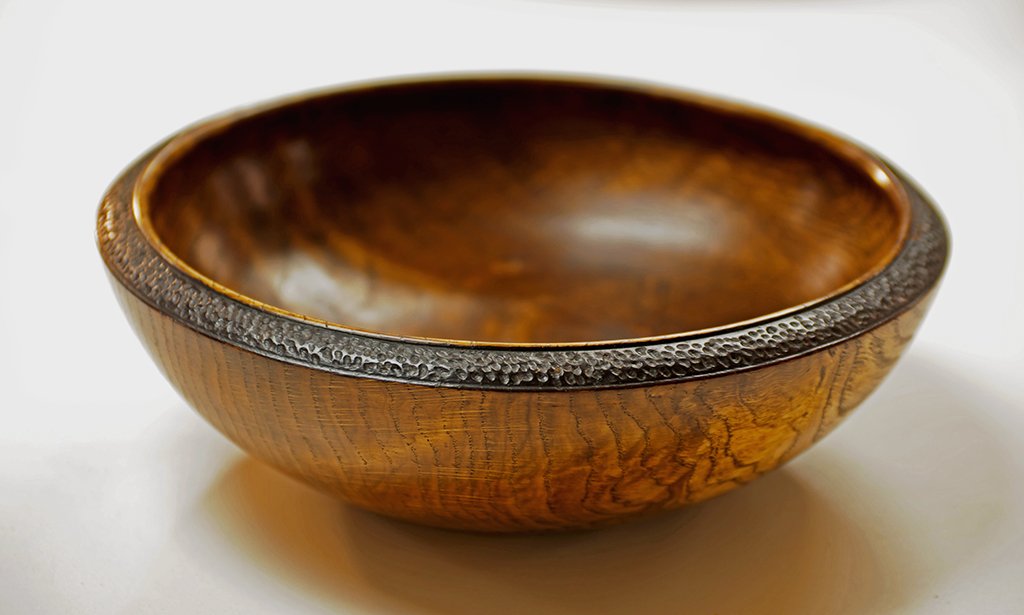
- Basic bowls or shallow dishes
- Vases or goblets (once you feel comfortable with hollowing)
- Decorative finials or beads on spindle
- Parting off & making simple segments
Each project teaches something different: shape control, tool presentation, sanding & finishing, hollowing, etc.
How Our Beginner Woodturning Class Fits In
At NC Furniture School, our Beginner Woodturning class is designed to bring all these elements together:
- You’ll get hands-on experience guided by instructors who’ve done this many times
- All tools and materials are provided, so you don’t need to invest heavily at first
- Focus on safety, sound technique, and understanding wood behavior
- Leave with your own turned pieces and the confidence to take on more complex projects
Tips to Keep Going After the Class
Invest slowly in tools & materials — get good base tools, then expand.
Practice regularly — consistency helps more than occasional intensity.
Join local woodturning clubs or meetups to share tips, see other work, learn new techniques.
Watch tutorials & videos – see professionals turn, observe layout, tooling, how they fix mistakes.
Keep a log of what you tried, what worked, what didn’t (wood species, tool, speed, etc.). Over time you’ll build intuition.
Getting Started in Woodturning: The essentials you will need
Here’s a breakdown of the essential tools, materials, and safety gear you’ll want before making your first turning. Rockler’s guide for lathe selection is helpful. https://www.rockler.com/
| Category | What to Look For | Why It Matters |
|---|---|---|
| Lathe | Choose one with enough swing over the bed (diameter you can turn) and distance between centers (how long the blank can be). | If it’s too small, you’ll be limited on what you can turn. Too fast, and safety becomes an issue. |
| Tools | A basic set: roughing gouge, spindle gouge, bowl gouge, skew chisel, and parting tool. Carbide vs traditional tools is a choice; traditional tools allow more control, but take more skill. | |
| Wood | Start with “easier” woods – softer woods or woods with straight grain. Dry vs green wood: each has trade-offs. Green wood lets you remove material easily, but may crack as it dries. Dry wood is more stable, but tougher to cut. Instructables+1 | |
| Safety Gear | Face shield, safety glasses, dust mask or respirator, hearing protection. Pull back long hair, avoid loose clothing, remove rings & watches. Check wood for defects before turning on. | |
| Setup & Accessories | Tool rest, appropriate speed settings, good lighting, stable workbench or stand. A sharpening system if using HSS (traditional steel tools). |